Terminal Payment
Terminal Payment
This POST method allows merchants to pass in a dollar amount and optional customer information to quickly create and send orders to synced terminals. Customer can pay in person with a card swipe, dip or tap at the indicated payment terminal.
These transactions will be recorded as POS Payment Type, with the order item description 'Terminal Payment'. Transactions can be associated with a new customer contact, an existing one, or no customer record at all depending on the information provided in this call. Sample code for each of these three scenarios is provided in this guide.
Sandbox Post URL: https://restsandbox.everyware.com/api/terminals/payment
Prod Post URL: https://rest.everyware.com/api/terminals/payment
Terminal Payment Parameters
| Parameter | Description | Required / Not Required |
|---|---|---|
| Everywareterminalid | Everyware issued unique numeric Id used to differentiate between terminals associated with a single Everyware sales site.\ EX: “8” | REQUIRED |
| Amount | Total amount to be processed.\ No “$” required.\ EX: 1.00 | REQUIRED |
| IndividualId |
If merchant passes the Individual ID associated with an existing contact in Everyware, the terminal payment will be logged with the customer's existing payment history.
Example 1) Quick Terminal Order with No CustomerCreate a quick terminal order without tying it to a new or existing customer record. Ex Portal UI : Transaction Data for Quick Terminal Order without a Customer Contact
Transaction Data for Quick Terminal Order without a Customer Contact Ex Portal UI : Quick Terminal Order with NO Customer Contact
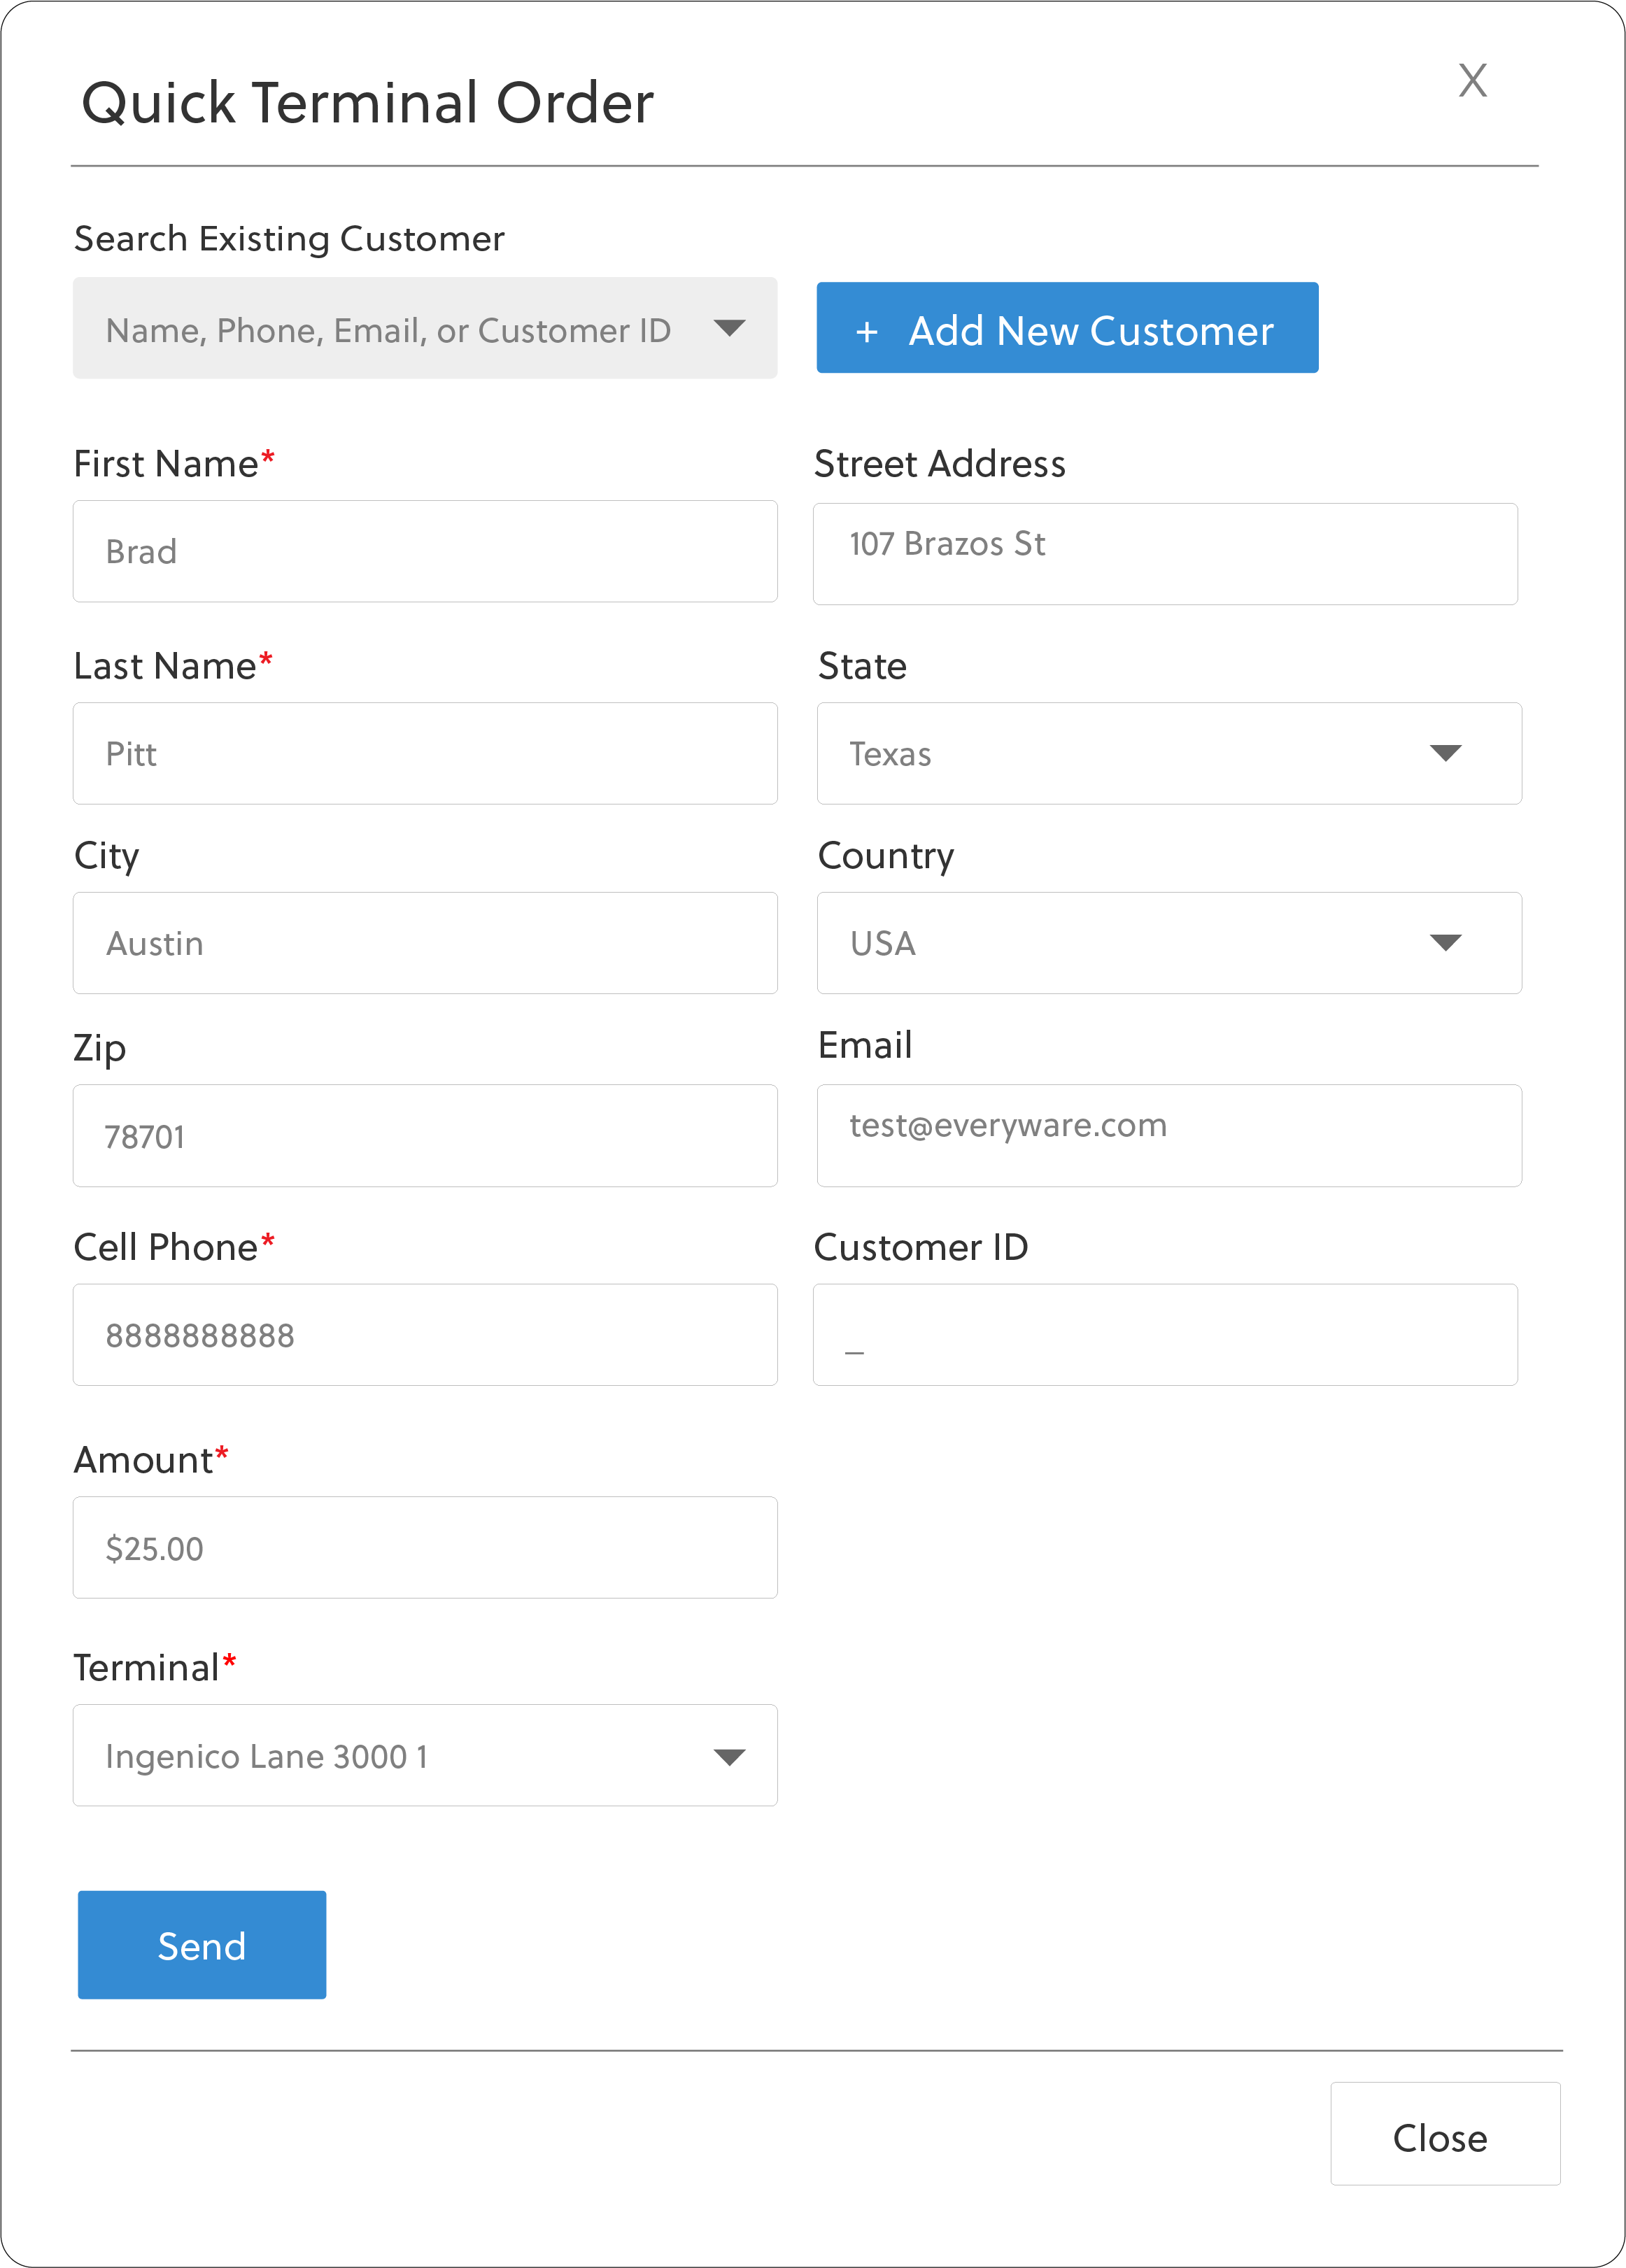
Portal UI Version of Quick Terminal Order with NO Customer Contact Sample Quick Terminal Order for New CustomerCreate a quick terminal order and new customer record together. Ex Portal UI : Quick Terminal Order with a New Customer Contact
Portal UI Version of Quick Terminal Order with a New Customer Contact Ex Portal UI : Transaction Data for Quick Terminal Order with a New Customer Contact
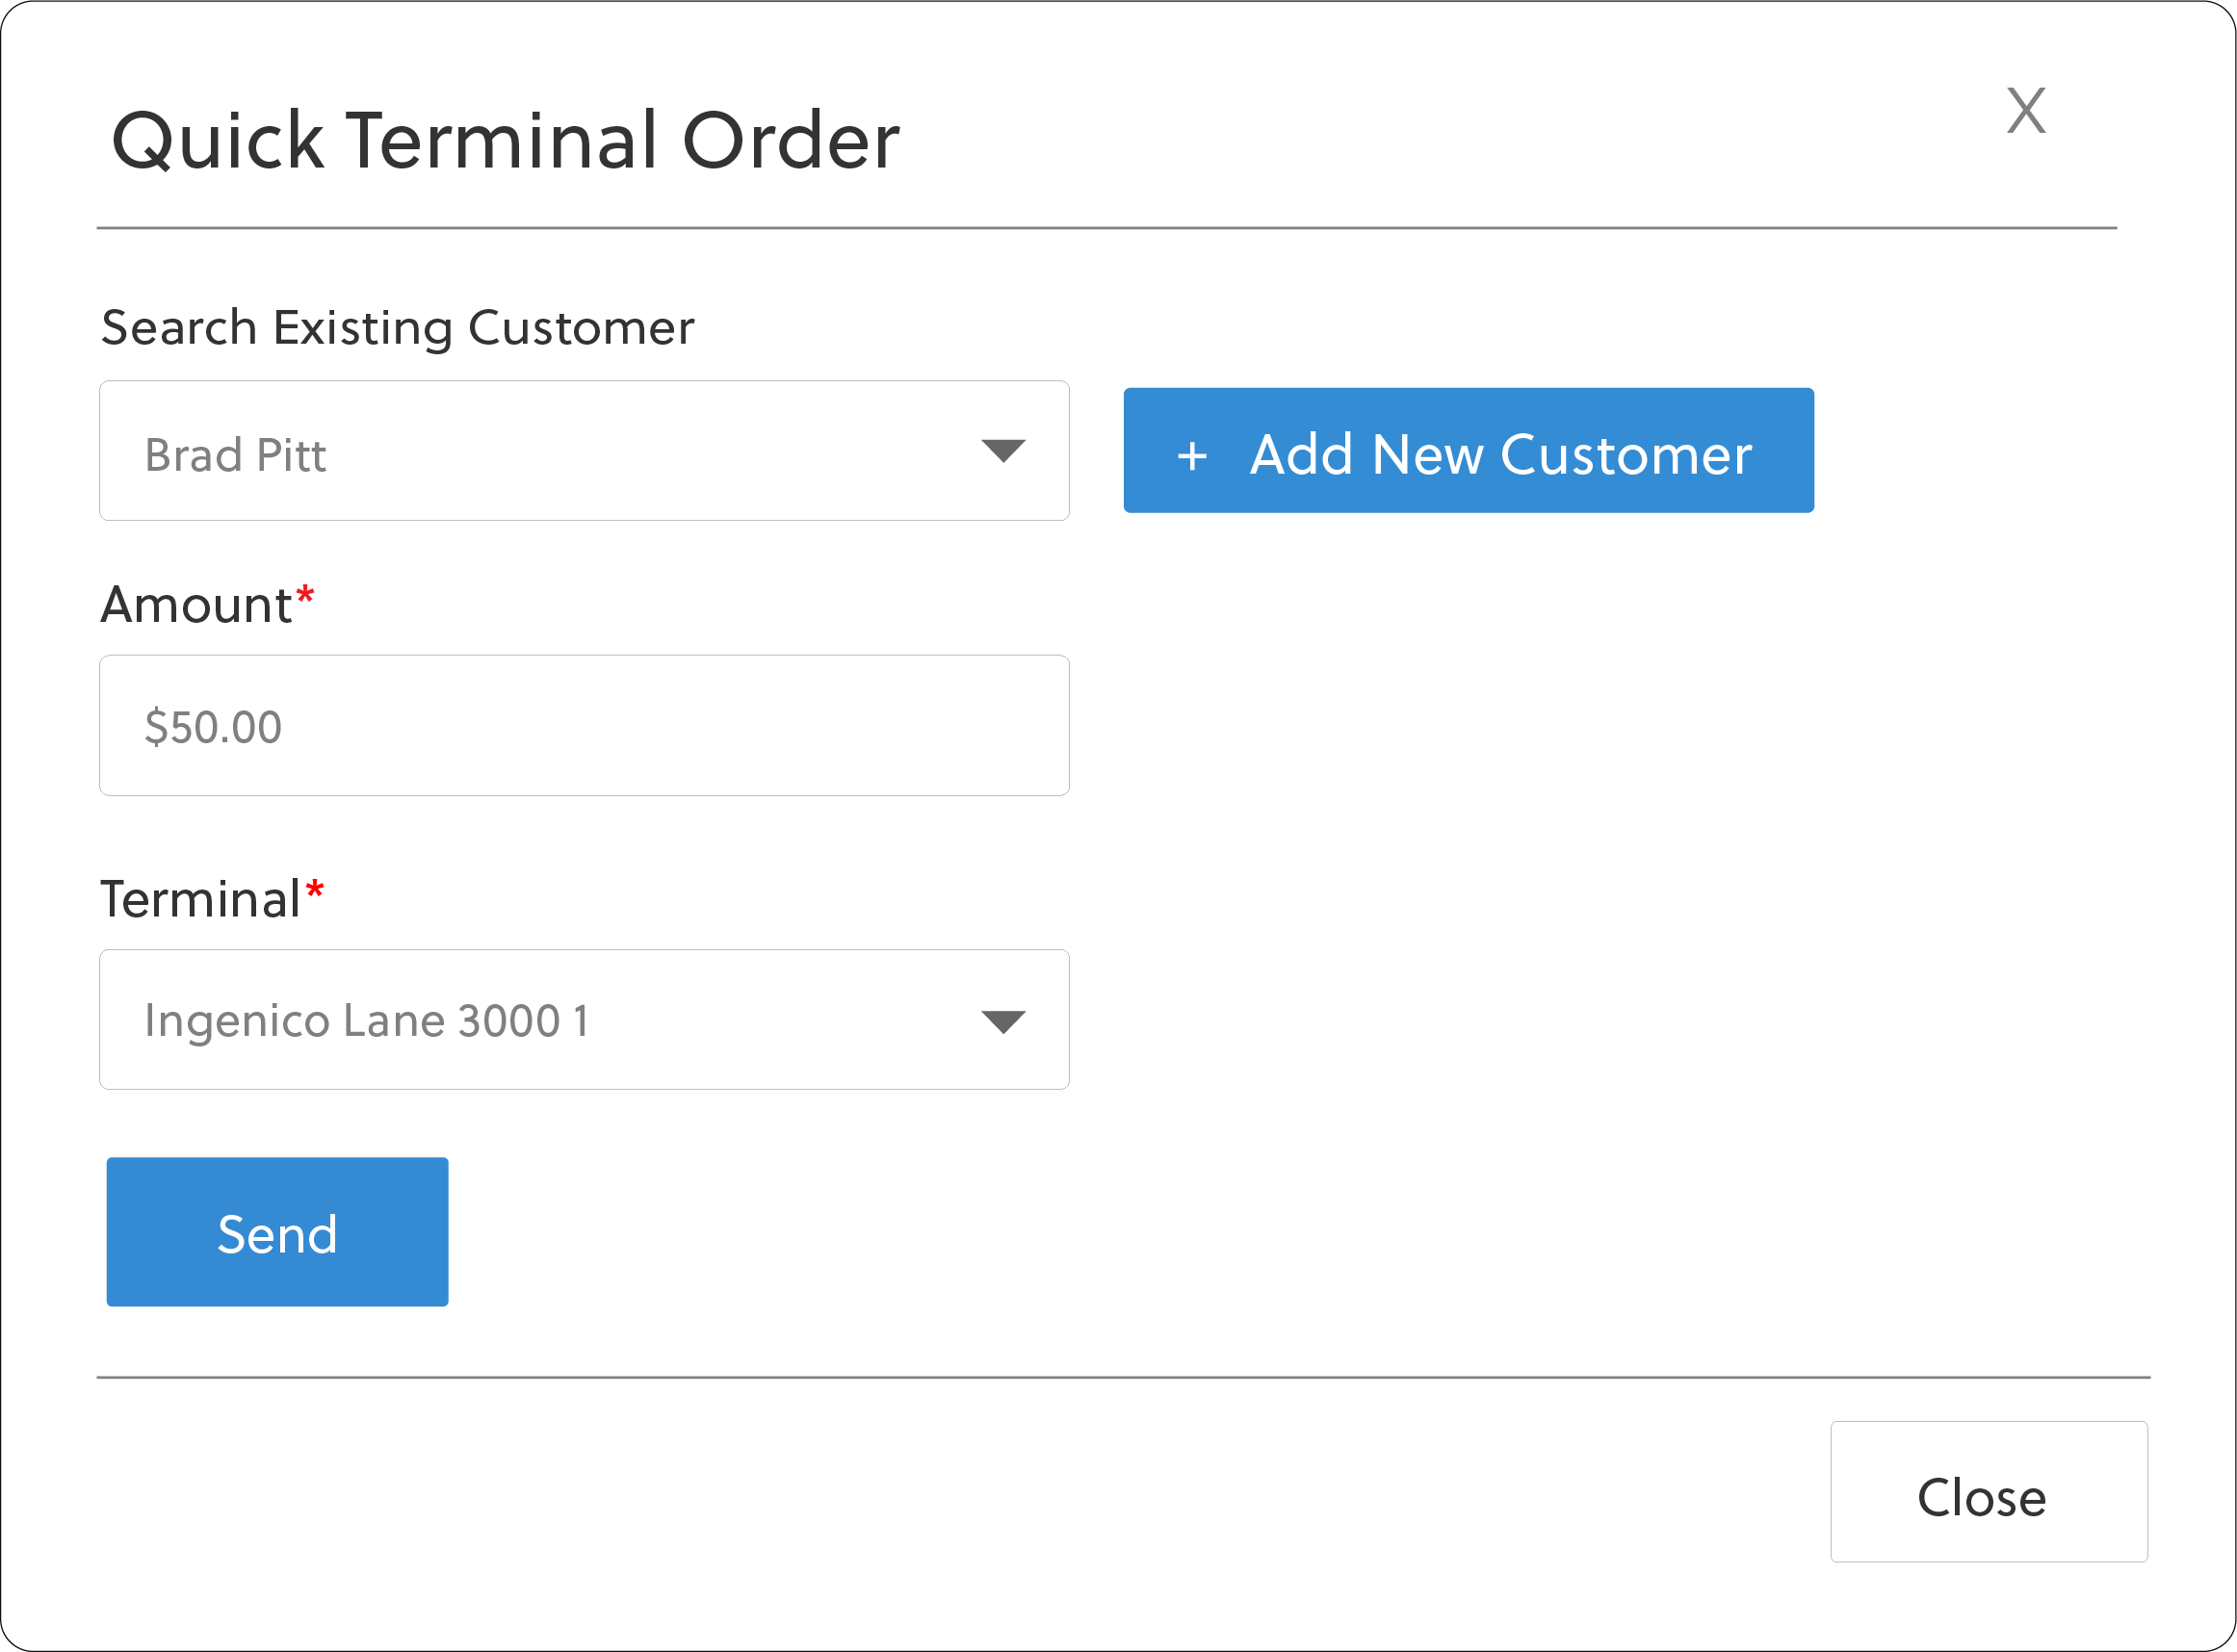
Transaction Data for Quick Terminal Order with a New Customer Contact Sample Quick Terminal Order for Existing CustomerThis sample input is used to create a quick terminal order tied to an existing customer's payment records by passing in the individualId.
Ex Portal UI: Transaction Data for Quick Terminal Order for Existing Customer. Merchants can see transaction details for orders sent to swipe terminals in the Payments > View Payments page table.
Quick Terminal Order data for Existing Contact on View Payments Table in Everyware Portal Ex Portal UI: To quickly create an order to be paid at a terminal from the Everyware portal, users may click on the Payments > View Payments > Quick Terminal Order button and enter information into the pop up form. In the form they may look up an existing customer or add a new one so the transaction will be saved with that customer's payment history, if needed.
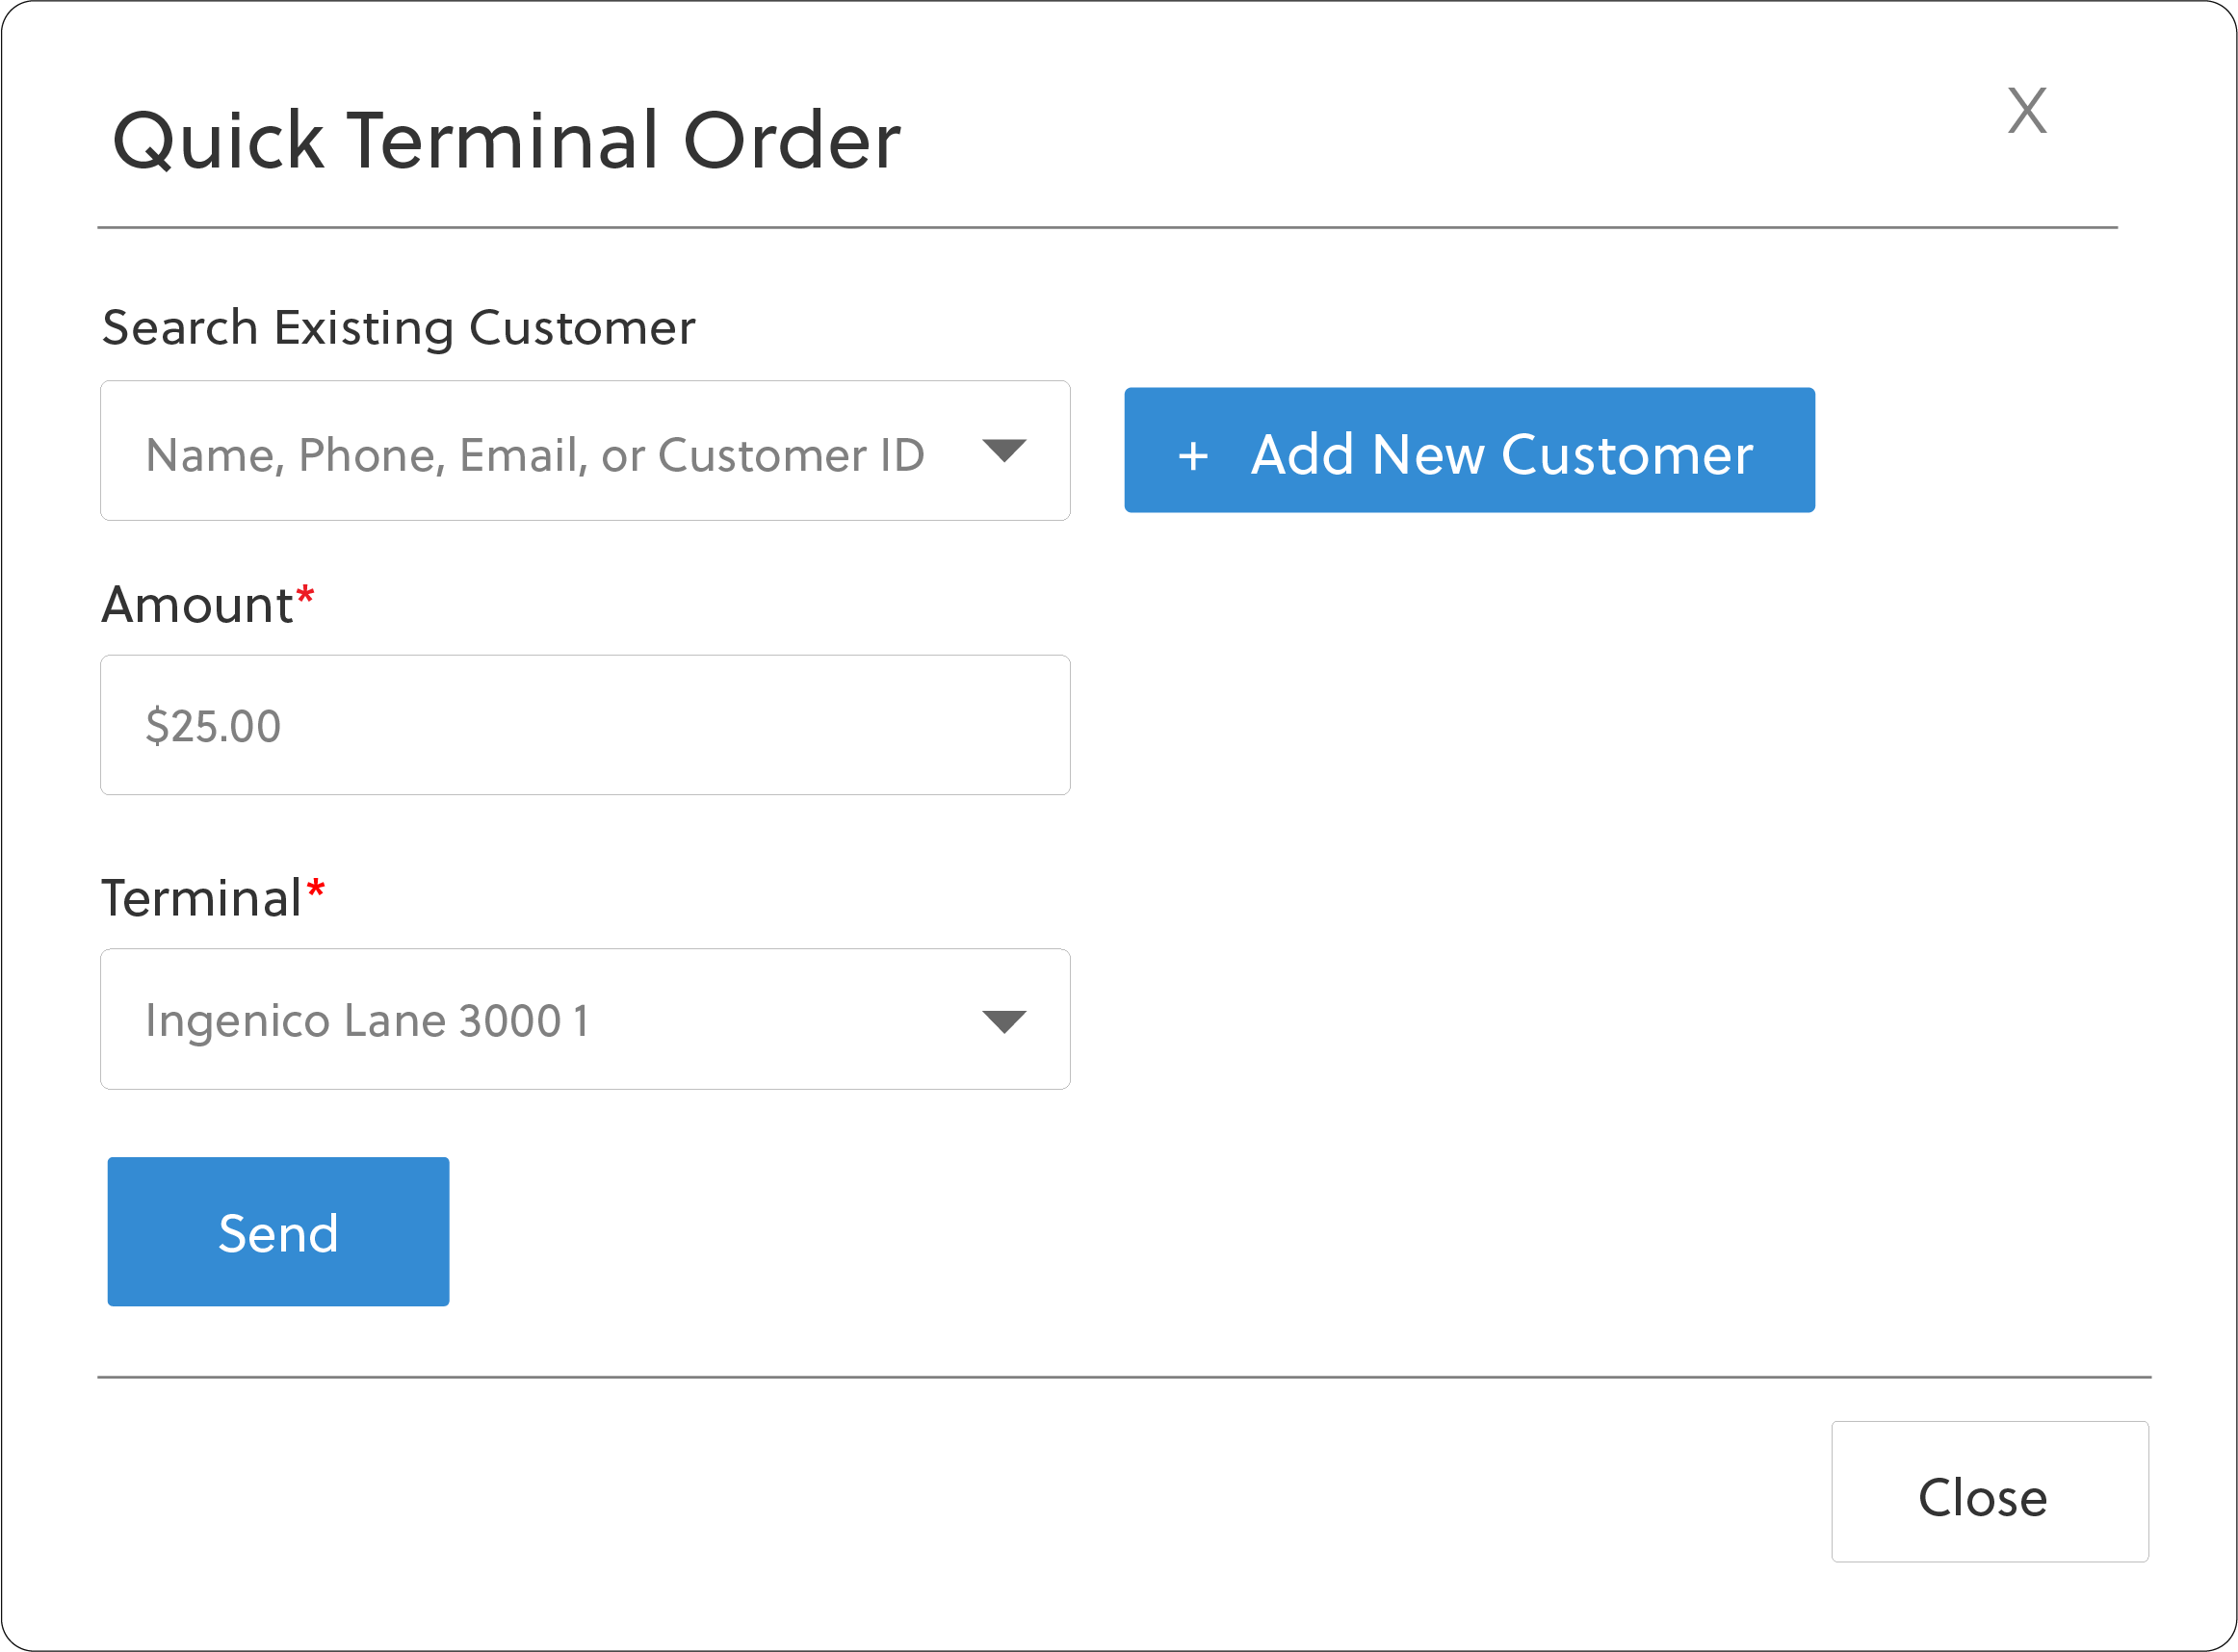
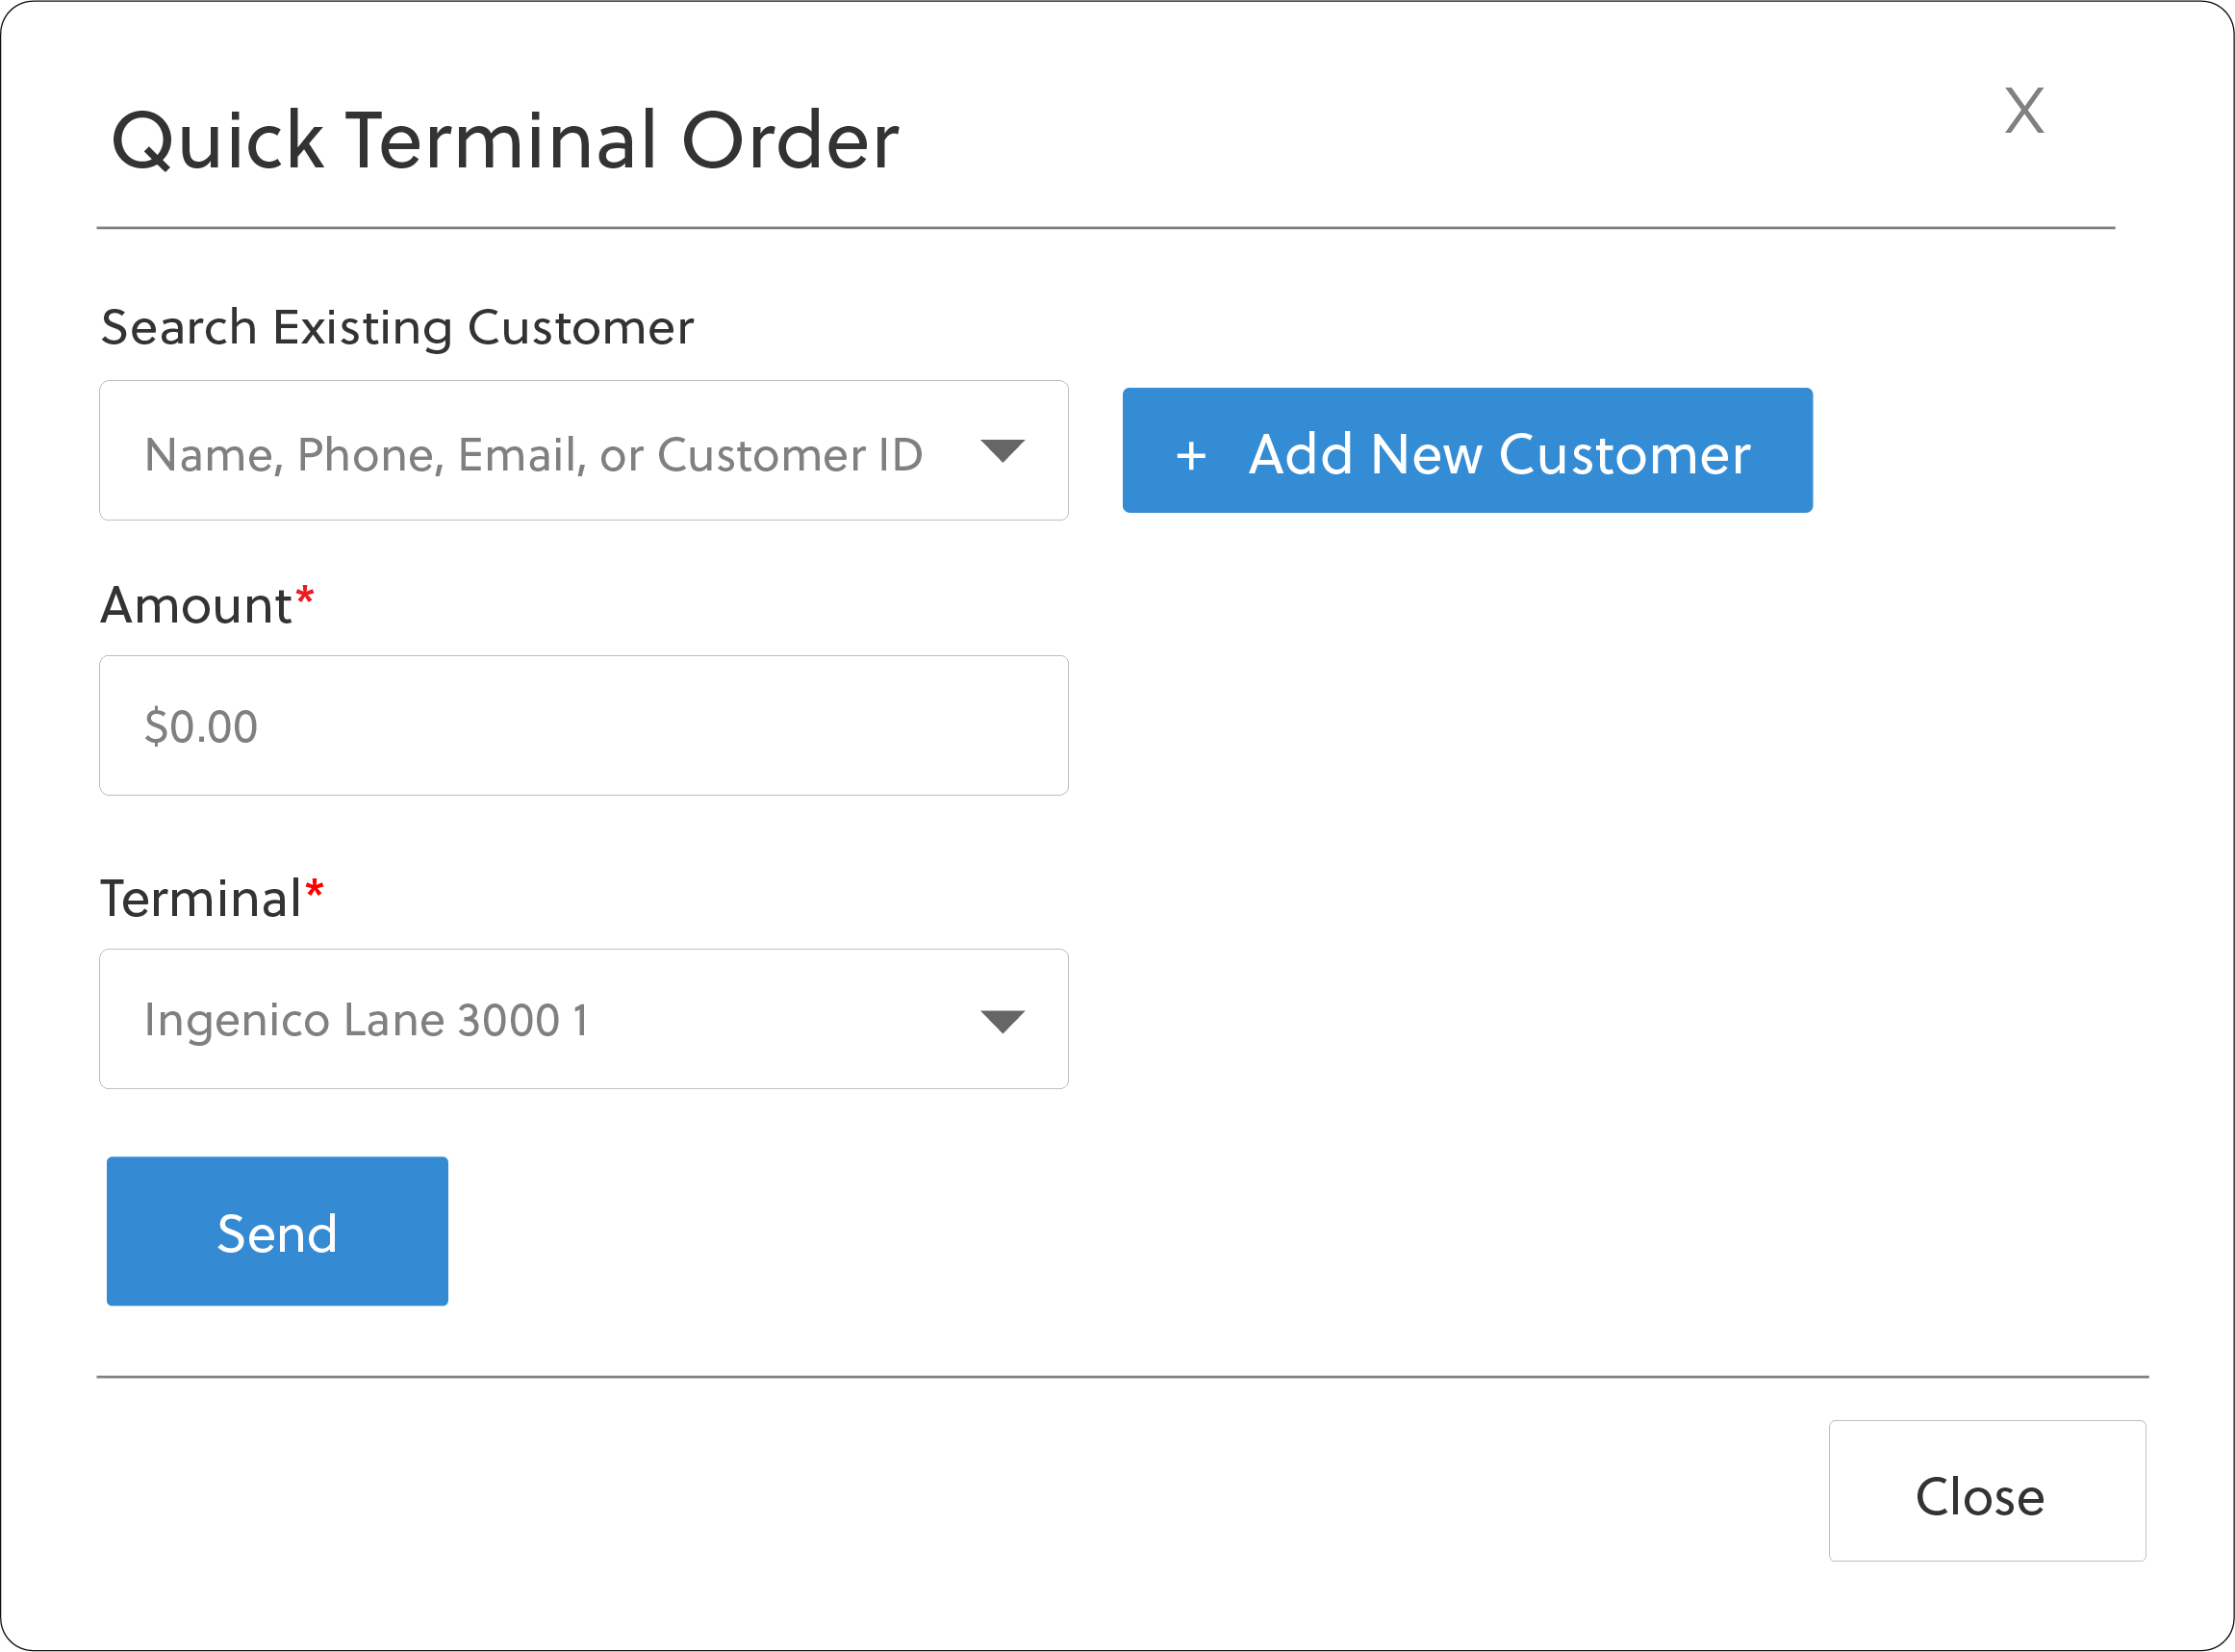
Portal UI Version of Quick Terminal Order with an Existing Customer Contact Ex Portal UI: To quickly create an order to be paid at a terminal from the Everyware portal, users may click on the Payments > View Payments > Quick Terminal Order button and enter information into the pop up form. In the form they may leave the customer information out when it is not necessary to create a contact in Everyware with which to associate the terminal payment. The merchant needs only to enter the Amount to be paid and select the terminal where the customer will be paying in person.
Portal UI Version of Quick Terminal Order with Customer Contact Blank (Optional) All Swipe Terminal Integration Guides
|